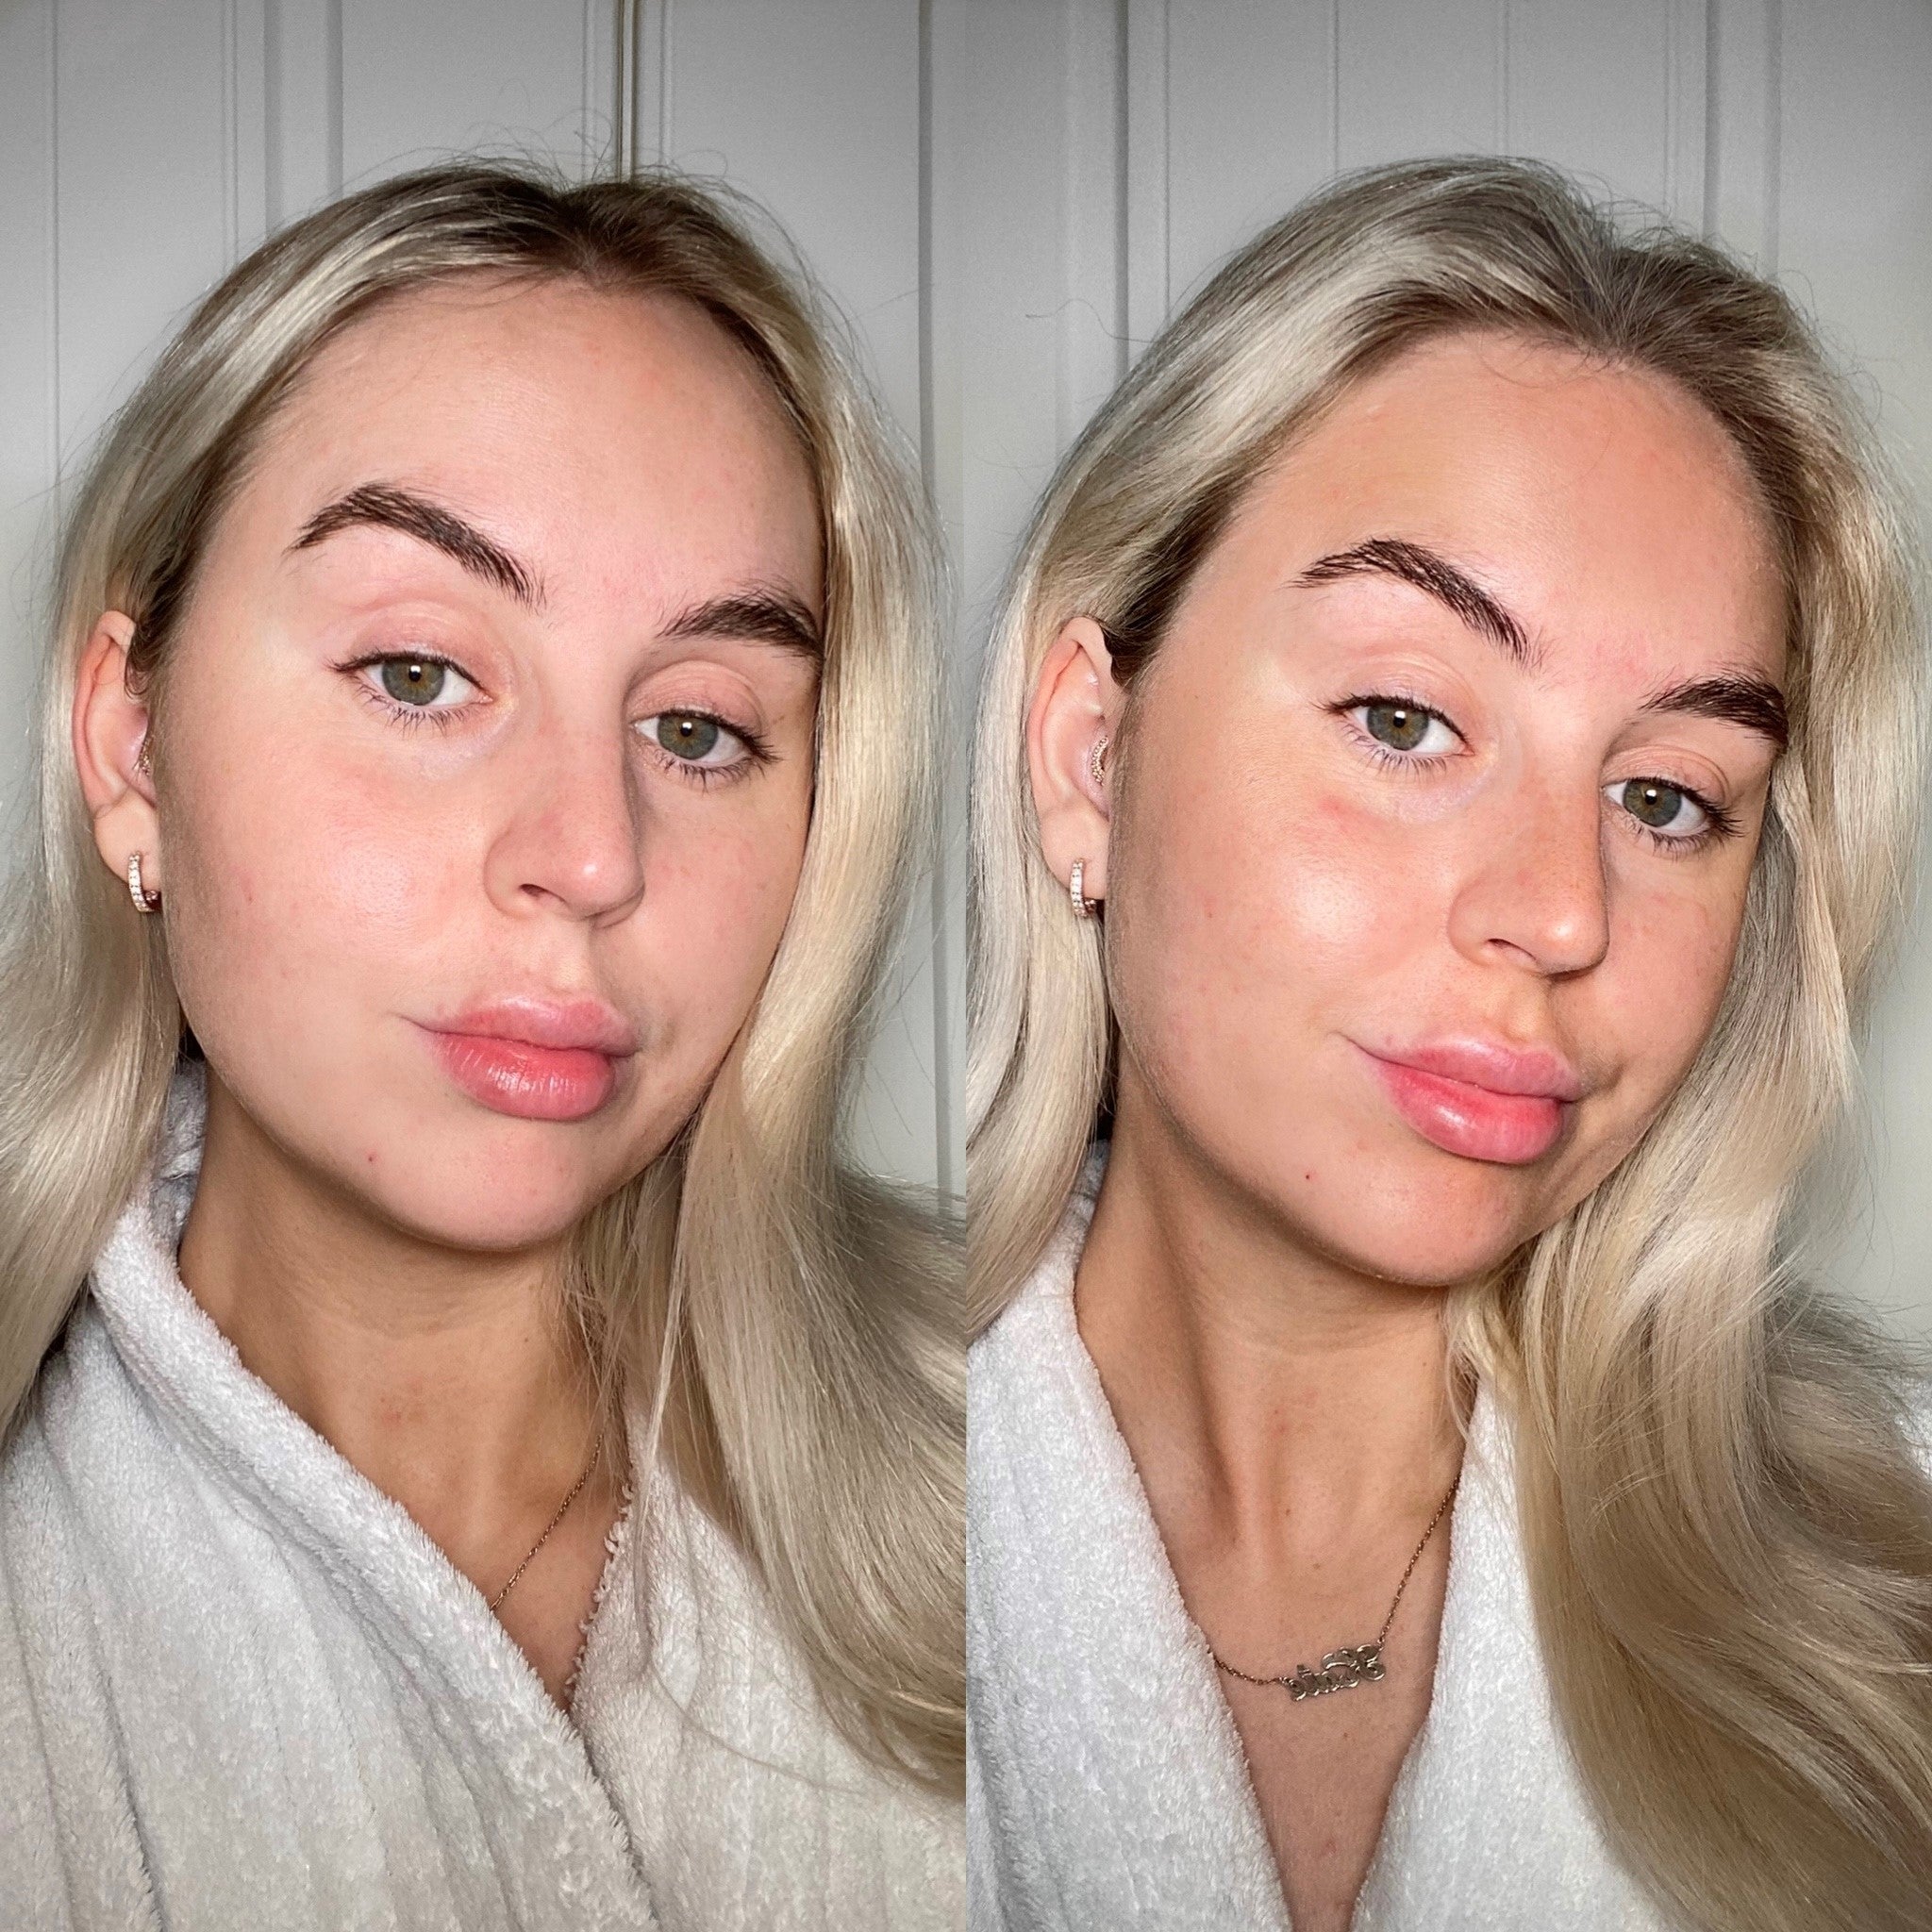
How to Apply Fake Tan For A Flawless Finish
How to prep for fake tan
Summer has arrived! With weddings, sun holidays and many outdoor activities, here are our top tan tips on how to apply fake tan for a flawless finish every time.
Let’s jump straight in with our quick prep guide on how to apply fake tan for beginners. Fake tan prep and knowing what to do before fake tanning are the key to a flawless outcome every time.
- To begin, shave any areas that need hair removed at least 24hrs prior.
- Then, exfoliate the entire body using an exfoliating tanning mitt or a body scrub to remove dead skin cells and dry skin 24hrs prior to applying fake tan.
- Should you moisturise before fake tanning? Yes! Make sure your skin is well-hydrated for a streak-free tan. Tan will cling to dry areas of skin, so this is a key top tip in learning how to fake tan properly!
- How long after moisturising can you apply tanning products? No less than 24hrs before applying tan product (excluding some areas which we’ll explain further below).
- Ensure the skin is clean, deodorant, perfume, and makeup free.
- Then apply the product.
Best way to apply fake tan
Step 1: Find your favourite tan
There are many types of fake tan products available. Tan Lotion is hydrating, easy to apply and quick to dry on your skin. Mousse is fantastic for the beginner. It glides on and creates a smooth equally hydrated tan finish. Liquid is quick-drying and extremely light-weight, while still giving a deep colour. Whilst gradual tan is fabulously buildable as well as creamy and moisturising. Wondering about face tan? Check our dedicated article on how to fake tan your face.
Step 2: Use a tanning mitt
The best way to apply fake tan is to use a tanning mitt. Most have a waterproof lining, keeping your hands clean and stain-free. The applicator mitt evenly disperses your product evenly due to its larger surface area. We suggest not using your hands solely to apply tan. And even after using a mitt, wash your hands to ensure zero staining.
Step 3: Apply tan in circular motions
Apply your tan using your mitt in circular motions. We suggest starting on your torso. Then work your way outward. Focus on one body part at a time. Ensure you’ve moisturised dry areas like the elbows, knees and ankles an hour before applying for an overall flawless finish.
Step 4: Allow tan to develop
Unless you’re using a quick tan which guides you otherwise, you should generally allow at least 8hrs for the true depth of shade to fully develop. Leave on overnight for wonderful results as your tan will develop darker when left on longer.
More tanning tips
Is it better to fake tan before or after a shower?
Another of our key fake tan tips for beginners but also tan queens alike, is to keep in mind the following. If you really must shower right before applying fake tan, take a cold shower to ensure your pores are closed for even development. A hot shower will result in patchy tan results.
How to fake tan your back?
How to self-tan your back can be a tricky one but not impossible. Here’s a little DIY number you can thank us for later. Secure your applicator mitt on the end of a hanger or long handled body brush with an old hair tie. Apply your tan to the mitt. Reach over your shoulders to apply to your upper back, then around your midriff to complete your lower back.
How to fake tan hands and feet
To apply the self tanner to hands and feet, DO moisturise these specific areas before tan application. This will dilute the tan resulting in a beautifully integrated finish with the rest of the body. Use very little product in a light sweeping motion (not circular). You can use a tanning brush to apply tan over the fingers and toes but again, with very little product.
Removing fake tan
When your fake tan begins to fade, you need to remove it properly to avoid patchiness. We’ve taken the work out of this for you. Here’s our full guide on how to remove fake tan the correct way. Check out our tan removal products whenever you're ready to start.
Is it better to fake tan in the morning or night?
This will depend entirely on your schedule and preference. We recommend at night, given the time needed to develop the tans depth of shade.
Find your fave tan today
Explore our range of easy-to-use, flawless fake tans and discover your new tan favourite with us. From face tan, instant tan and gradual tanners, we promise you’ll find your flawless tan with Dripping Gold. For the ultimate red carpet enhancement, spritz our Illumination Bronzed Glow Setting Mist all over for that starlit flawless skin finish. A multi-purpose spray that not only preps and sets your makeup but also adds a refreshing bronzed glow to your face and body.

Happy tanning,
SOSU Cosmetics x


